

Tile adhesive, also known as ceramic tile binder, is a specialized bonding material in the construction and decoration field. It is widely used in internal and external walls, floors, bathrooms, kitchens and other areas of residential and commercial premises to paste decorative materials such as ceramic tiles, face bricks and floor tiles. With its core advantages of high bonding strength, water resistance, freeze-thaw resistance, aging resistance and easy construction, it has become an ideal choice in decoration.
To give full play to the best performance of tile adhesive, it is necessary to well prepare before construction and control the construction process. Before construction, the wall needs to be in a state of "wet outside and dry inside". A sprayer can be used to spray clean water evenly to ensure the surface is moist without standing water. If the wall is uneven or rough, cement mortar mixed in a ratio of 1:3 should be used for leveling, which should be cured for 3-7 days until hardened, with a flatness error not exceeding 3mm/2m. At the same time, the base layer must be thoroughly cleaned of floating dust, oil stains and wax - floating dust is removed with a soft brush or vacuum cleaner, oil stains are wiped with a neutral detergent and then dried, and wax is wiped off after heating with a heat gun to avoid affecting the bonding strength.
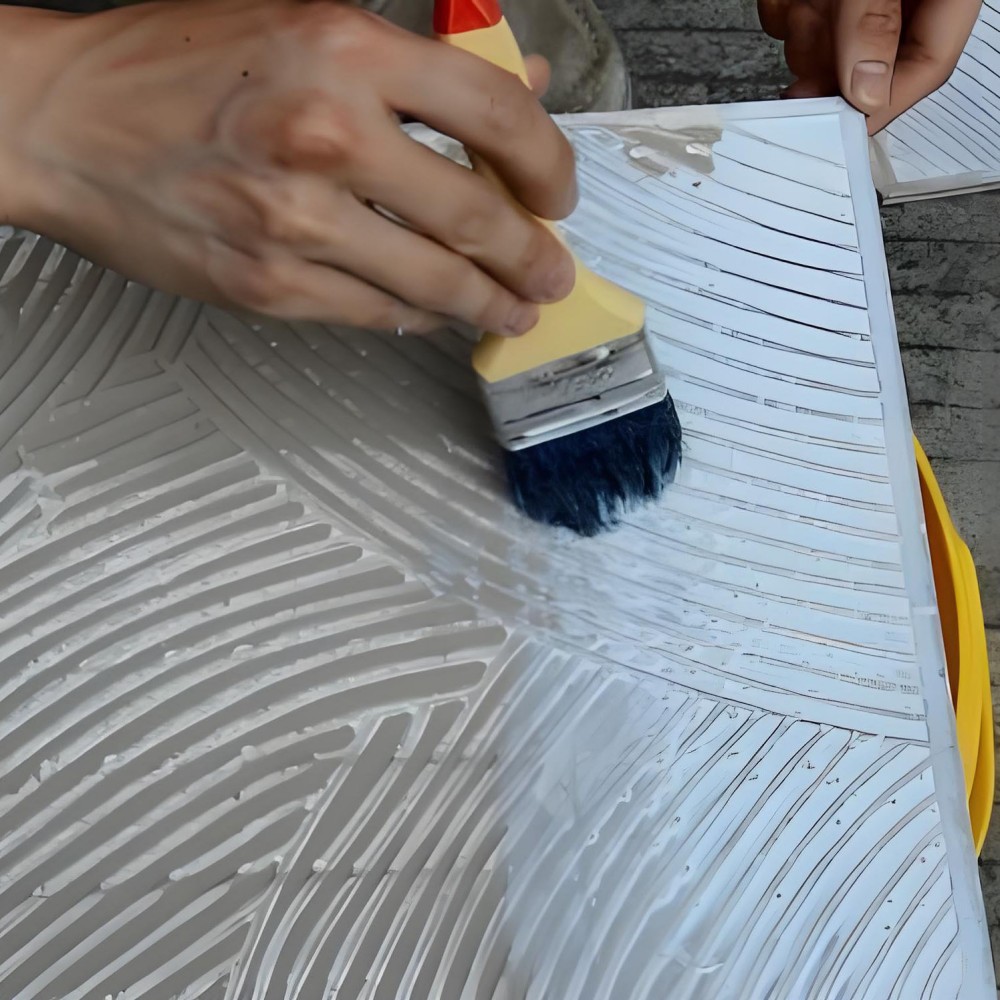
During construction, the mixing of tile adhesive must strictly follow the product instructions to control the water-adhesive ratio (usually 1:4). First add water, then pour in the adhesive powder, and stir with an electric mixer for 5-10 minutes until it becomes a granular-free paste. Let it stand for 3 minutes and then stir again. When applying, the adhesive layer thickness is 3-5mm for small-sized tiles (such as 300mm×300mm) and 5-8mm for large-sized tiles (such as 600mm×600mm and above). After application, press the tiles until they are flat, and their positions can be adjusted within 5-15 minutes. In terms of consumption, small tiles consume 3-5kg per square meter, while large tiles or antique tiles consume 5-8kg per square meter due to their deep back textures.
Different types of tile adhesives have great differences in characteristics and need to be selected on demand:
- Acetic acid-releasing type: It vulcanizes quickly and has high transparency, suitable for pasting transparent/light-colored glass mosaics. However, it releases acetic acid during curing, has a pungent odor, corrodes metals and coated glass, and is not suitable for enclosed spaces.
- Alcohol-releasing type (TC): It has small curing shrinkage and low peeling risk after water immersion, and has no corrosion to most substrates, suitable for kitchens and balconies. But it has poor adhesion to fluorocarbon profiles, plastic-steel and white marble, and is prone to bubbles during high-temperature construction.
- Oxime-releasing type (TW): It has strong adhesion and can be constructed at high temperatures without bubbles, suitable for outdoor use in summer. However, it slightly corrodes copper and silver mirrors, and its shrinkage rate is higher than that of the alcohol-releasing type.
- Acid-releasing type: It produces acidic substances during curing, so it is strictly prohibited to be used on alkaline substrates such as cement and stone, otherwise it will react to form chalky substances and cause tiles to fall off.
Many problems may occur during construction, which need to be avoided in a targeted manner:
- Wrinkling and bubbling: Mostly caused by high-temperature construction, too thin adhesive layer, wrong foam rod or repeated scraping. These can be solved by cooling the construction area, controlling the adhesive thickness, selecting compatible closed-cell foam rods and scraping the adhesive once.
- Adhesive strip bulging: Caused by excessive squeezing of the foam rod during edge trimming. It is necessary to gently scrape off excess adhesive and keep the original shape of the foam rod.
- Uneven/sagging adhesive strip: Due to short correction time and wrong edge trimming direction. The correction time can be extended, and edge trimming can be done from the bottom to the top of the adhesive seam.
To ensure project quality, due to differences in profiles and tile adhesive batches, an adhesion test should be conducted before construction: take a small amount of adhesive, paste small tiles according to the process, cure them in an environment simulating actual use for 7 days, and use them in batches only if there is no hollowing or falling off. When purchasing, choose products from regular manufacturers and check the production date, shelf life, etc. Avoid colliding with tiles within 24 hours after construction to ensure the adhesive layer is fully cured.


